At Moddex, we believe in offering the highest standard of support to all of our clients, ensuring everything runs smoothly and efficiently. This includes having an extensive team of trained CAD drafters to streamline the design process of your project. Watch our video below and learn about the end-to-end steps of design & drafting.
Step-By-Step Breakdown
The design phase of a project can be time and resources consuming, that’s why we take care of it. Below is a breakdown of our process.
Step one: Once the new project is entered into our system, a design coordinator will review all given information to ensure our team has everything to complete the design process. The project will then be assigned to one of our CAD drafters.
Step Two: Our drafter will then design the base model and product using the given dimensions and any extra information they may need to know. Once this has been modelled, they will create design intent drawings. These will show the site dimensions, rail heights as well as detailed views of any fixings or fittings required for the install.
Step Three: The design intent drawings are passed onto the design coordinator and project manager for a quality check, this includes a standard NZ/AU compliance check, depending on where your project is located. They will double check to make sure that all measurements match the information given. As well as having an appropriate design for the product. Once both have approved, this design intent is sent to our customer for approval. If the client replies with any revisions, they will need to be passed back to a drafter to begin amending the changes. This step is vital as it aids in ensuring your project is compliant from the beginning.
Step Four: Once the design intent drawings are approved and any additional information has been passed back from the customer, our drafter then moves on to creating production and installation drawings. Production drawings tell production how they will make the stanchions, pipes, and panels. Install drawings will tell the customer or installer, where the stanchion, pipes, and panels, are going to be installed on the site; think of it like an instruction manual.
Once the production drawings are created, a design coordinator does another quality check to make sure all measurements, pipes, fittings, and fixings are included in the drawings. As well as the final finish and if any powdercoating is required.
Step Five: The production and installation drawings are then sent to the customer for final approval and then sent across to our production team for them to start their process.
And that is our design process in a nutshell!
The Design Academy
Established in 2022, the Moddex Design Academy is a one-of-a-kind opportunity for creative, design-minded individuals to develop a high-value skillset, build a lifelong network and kickstart a career in a rewarding industry.
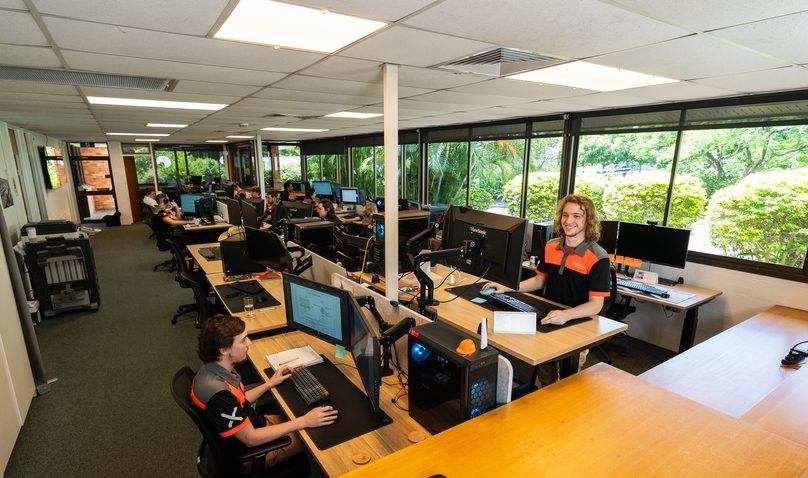
The Moddex Design Academy is an integral part of our effort to create the world’s most trusted pathways - in work and life. It is one of our long-term goals to create meaningful and rewarding pathways for future generations who are gifted when it comes to design. Our design academy is equipped with the correct training and knowledge based to make sure we deliver you the best possible results.
Resources
Moddex offers a wealth of resources including NATSPEC and Masterspec branded work-sections, specification sheets, technical data, compliance certificates, 2D & 3D CAD files, Tekla, Revit and ArchiCAD BIM tools. You can find all our resources here!
Partner with Moddex
Get in touch with our expert team or call us on 1800 663 339 (Australia) or 0800 663 339 (New Zealand). We’re here to help you from start to finish.